Jekyll is a static site generator. That means, that you give some info to it and get HTML pages as a result. It’s ok when the site is pretty simple or even single page. What about more complicated websites? Will Jekyll handle it? Will it be convenient?

Table of Contents:
- Static HTML
- Custom Domains
- Markdown
- SASS / SCSS
- Layouts
- Variables
- Collections
- Filters
- Variable Capture
- Code Compression
- Custom Highlight
- Tag Cloud
- Pagination
- Conclusion
- Further Reading
Static HTML
Github Pages use Jekyll as generator engine to generate static pages. But Github can be used without Jekyll as well, throw-in any static site and Github will handle it gracefully and it’s free
For example, BagwanPankaj.com is generated using React.JS application that spits out HTML Pages. It’s just a bunch of pure HTML pages, hosted on GitHub Pages
Custom domains
As you can see, there is an opportunity to use your own domain name instead of *.github.io. It’s pretty simple. You just need to create a CNAME file with the only line, domain name.
bagwanpankaj.com
You can see the correct domain in your repository settings after commit.
Markdown
Markdown is a lightweight markup language that you can use to add formatting elements to plaintext text documents. Created by John Gruber in 2004, Markdown is now one of the world’s most popular markup languages.
From: https://www.markdownguide.org
Jekyll supports both HTML and Markdown for writing pages or posts. HTML gives you more opportunities, but too heavy to write and manage. Markdown is really cool for writing just texts, when processed it converts your text into HTML.
Using Jekyll, you can also put pinch of dynamic content using liquid tags (we will discuss these later). Following is the example of Markdown
First, we need to open the Chrome developer tools. One way
to do that is to open the "View" menu, then select
"Developer" → "Developer Tools". Once that pops open,
select the "Network" tab.
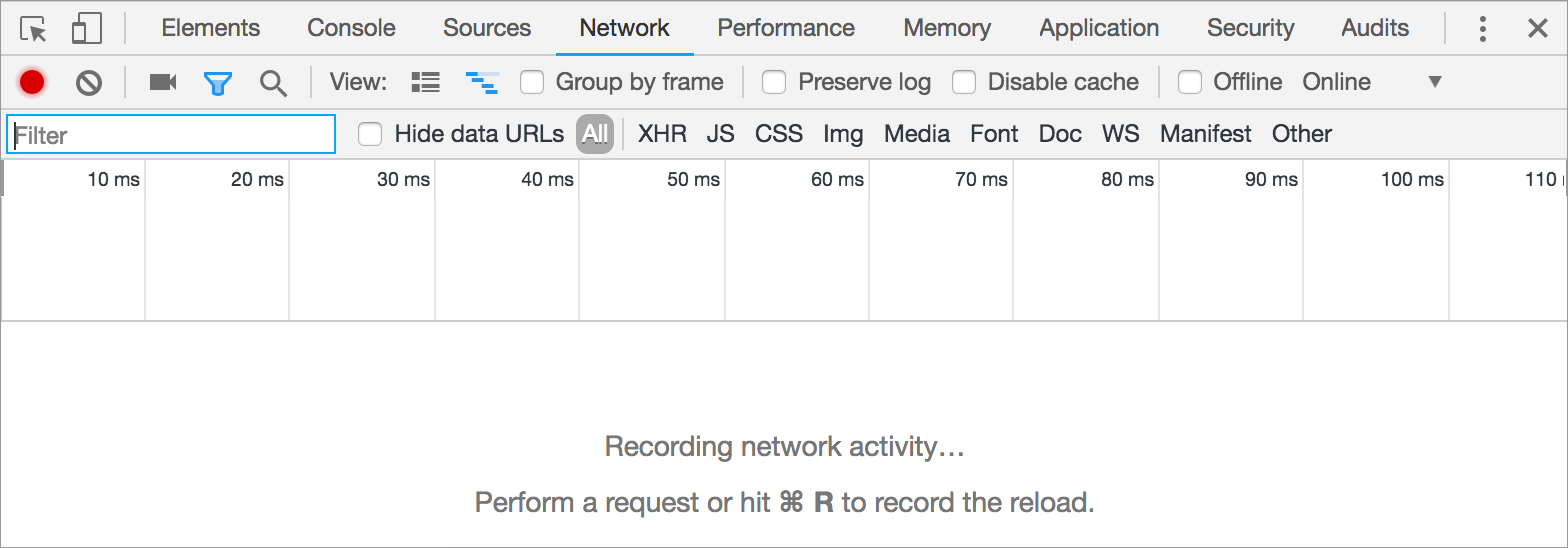
Next, type a URL in the browser bar, like "http://
www.example.com/index.html". An HTTP request shows up in
the console, and the browser renders the page.

We can dig into that request to see the juicy details, if
we want. Click "index.html" under the "Name" column". A
tabbed interface pops up and defaults to a "Headers" tab.
The markdown is much better looking and easy to type in
SASS/SCSS
Sass is the most mature, stable, and powerful professional grade CSS extension language in the world.
Sass is a preprocessor for CSS with sugercoating that is interpreted and compiled into CSS. This sugercoating introduces a lot of features into CSS that does not exist in CSS (i.e code-reuse, variables, nested rules etc)
@mixin reset-list {
  margin: 0;
  padding: 0;
  list-style: none;
}
@mixin horizontal-list {
  @include reset-list;

  li {
    display: inline-block;
    margin: {
      left: -2px;
      right: 2em;
    }
  }
}

nav ul {
  @include horizontal-list;
}
You can see using @mixin, we can reuse css code into one another. This makes it easier to have site-wide things at one place (remember DRY)
Layouts
Layouts are templates that wrap around your content. They allow you to have the source code for your template in one place so you don’t have to repeat things like your navigation and footer on every page.
Layouts live in the _layouts directory. The convention is to have a base template called default.html and have other layouts inherit from this as needed. For example:
//default.html

<!DOCTYPE html>
<html lang="{{ page.lang | default: site.lang | default: 'en-US' }}" class="no-js">
  {% include head.html %}

  <body class="layout--{{ page.layout | default: layout.layout }} {{ page.title | slugify }}">

    {{ content }}

    {% include footer.html %}
  </body>
</html>
Yes, Jekyll have include. But it is better to use it in other places. A better solution for site appearance is a layout mechanism.
Let’s see some example. The page’s source code will look like this:
---
title: My First Page
layout: default
---
This is the content of my page
So the page generates some code and stores it to the content variable. Jekyll can see that next file will be _layouts/default.html and parse it. The programmer can output content variable at any place of the code.
The code is more complicated in real cases. For example, Pankaj Baagwan Engineering Blog’s index page and default layout for it.
Variables
We’ve touched the variables theme. So let’s see the header from home page:
---
layout: default
locale: en_US
title: Home page
---
The layout variable gives the Jekyll info about next file to parse. All other variables used in code by programmer like in layout:
<!DOCTYPE html>
<html>
	<head>
		<title>{{ site.name }} | {{ page.title }}</title>
The page.title was in the page’s header. The site.name variable is in _config.yml.
Collections
Collections are a great way to group related content like members of a team or talks at a conference.
Setup
To use a Collection you first need to define it in your _config.yml. For example here’s a collection of staff members:
collections:
  - staff_members
In this case collections is defined as a sequence (i.e., array) with no additional metadata defined for each collection. You can optionally specify metadata for your collection by defining collections as a mapping (i.e., hashmap) instead of sequence, and then defining additional fields in it:
collections:
  staff_members:
    people: true
Previous features were not very advanced. But collections help to do really powerful things.
Adding Content
Create a corresponding folder (e.g. <source>/_staff_members) and add documents. Front matter is processed if the front matter exists, and everything after the front matter is pushed into the document’s content attribute. If no front matter is provided, Jekyll will consider it to be a static file and the contents will not undergo further processing. If front matter is provided, Jekyll will process the file contents into the expected output.
Regardless of whether front matter exists or not, Jekyll will write to the destination directory (e.g. _site) only if output: true has been set in the collection’s metadata.
For example here’s how you would add a staff member to the collection set above. The filename is ./_staff_members/jane.md with the following content:
---
name: Jane Doe
position: Developer
---
Jane has worked on Jekyll for the past *five years*.
Do note that in spite of being considered as a collection internally, the above doesn’t apply to posts. Posts with a valid filename format will be marked for processing even if they do not contain front matter.
Now you can iterate over site.staff_members on a page and output the content for each staff member. Similar to posts, the body of the document is accessed using the content variable:
{% for staff_member in site.staff_members %}
  <h2>{{ staff_member.name }} - {{ staff_member.position }}</h2>
  <p>{{ staff_member.content | markdownify }}</p>
{% endfor %}
If you’d like Jekyll to create a rendered page for each document in your collection, you can set the output key to true in your collection metadata in _config.yml:
collections:
  staff_members:
    output: true
You can link to the generated page using the url attribute:
{% for staff_member in site.staff_members %}
  <h2>
    <a href="{{ staff_member.url }}">
      {{ staff_member.name }} - {{ staff_member.position }}
    </a>
  </h2>
  <p>{{ staff_member.content | markdownify }}</p>
{% endfor %}
Filters
To make common tasks easier, Jekyll even adds a few handy filters of its own, all of which you can find on this page. You can also create your own filters using plugins.
We’ve touched the filters theme already. Now is a time for a more complicated task. I want to see all my “Linux” posts, grouped by year, limited with 3 years only.
{% assign cp = site.tags.linux | sort | reverse %}
{% assign byYear = cp | group_by_exp:"post", "post.date | date: '%Y'" %}

{% for yearItem in byYear limit:3 %}
  <h4>{{ yearItem.name }}</h4>
  <ul>
    {% for post in yearItem.items %}
    <li><a href="{{ post.url }}">{{ post.title }}</a></li>
    {% endfor %}
  </ul>
{% endfor %}
Firstly, get all “Linux” posts by tag: site.tags.linux. Next line groups posts by date. You can choose any field or date format for grouping. The final thing is a limit in the for loop.
Variable capture
For example, I want not to put parsed code directly to {{ content }}, but put it into some variable, modify somehow, and put to the page after that.
Usual assignment:
{% assign someString = "value" %}
It is not working in this case since I want not raw-strings but preprocessed by Jekyll.
The solution is capture directive. Let’s see an example of compress.html bug avoid hack. Initially, you have the code like:
{% highlight AnyLanguage linenos %}
Some code
{% endhighlight %}
Change it to using capture:
{% capture _code %}
  {% highlight AnyLanguage linenos %}
    Some code
  {% endhighlight %}
{% endcapture %}
{% include fixlinenos.html %}
{{ _code }}
So highlighted code in _code variable. Then it will be processed by _include/fixlinenos.html:
{% if _code contains '<pre class="lineno">' %}
    {% assign _code = _code | replace: "<pre><code", "<code" %}
    {% assign _code = _code | replace: "</code></pre>", "</code>" %}
{% endif %}
The code just check for <pre class="lineno"> substring. If it exists, then we have buggy HTML output. Just trim, replace it with correct ones.
Code compression
You can compress all your SASS with one line in _config.yml:
sass:
  style: :compressed
If you make your SASS code on the fly and store it to string, then the scssify filter is for you:
{{ some_scss | scssify }}
The style from config will be applied.
There is no standard way to compress output HTML. But you can use compress.html. Just add one line to your top-level layout:
---
layout: compress
---
The compression will be after all code generation. You will get all your HTML into one line like this:
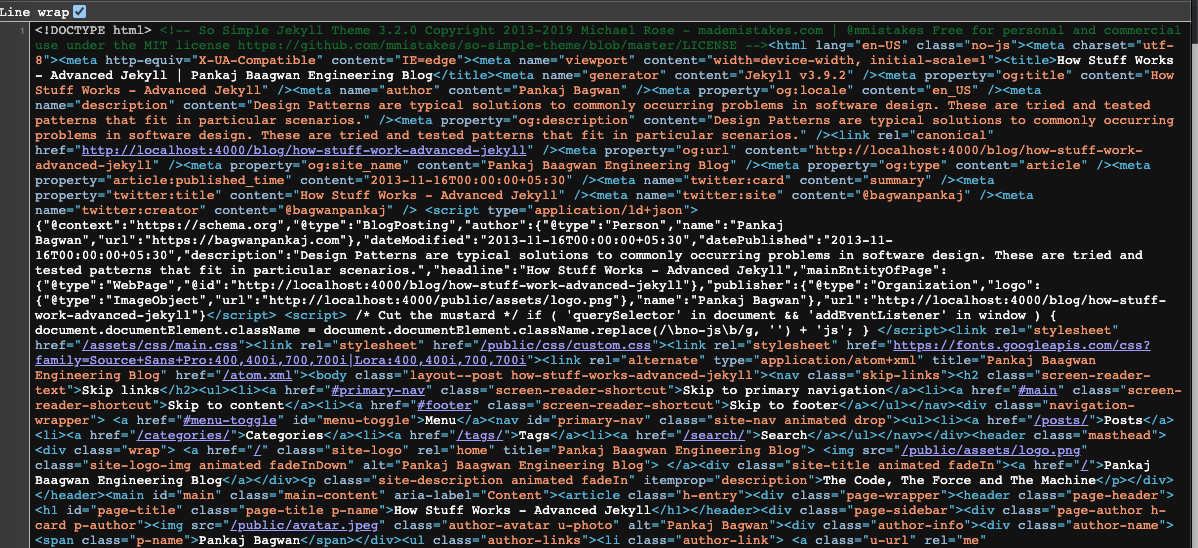
Tag Cloud
Once you have tags setup in posts and tag pages created at URLs like tag/TAGNAME, we can create a tag cloud using the code snippet below in tagcloud.html page
<h1>Tag Cloud</h1>
{% assign tags = site.tags | sort %}
{% for tag in tags %}
 <span class="site-tag">
    <a href="/tag/{{ tag | first | slugify }}/"
        style="font-size: {{ tag | last | size  |  times: 4 | plus: 80  }}%">
            {{ tag[0] | replace:'-', ' ' }} ({{ tag | last | size }})
    </a>
</span>
{% endfor %}
We are traversing the tags in site after sorting them and then generating a link for every tag. While creating the link for tag page, we make sure to size every link to include the font size parameter as inline style. The size depends on the count of posts that is available for that particular site tag.
Since we are specifying the font size in percentage here, I have done offsetting by 80 after multiplying the post count by 4. By doing this, tags with just one post will be sized at 84%, those with 2 posts will have size of 88% and so on… You may want to change these offset values as per your liking.
Pagination
With many websites — especially blogs — it’s very common to break the main listing of posts up into smaller lists and display them over multiple pages. Jekyll offers a pagination plugin, so you can automatically generate the appropriate files and folders you need for paginated listings.
For Jekyll 3, include the jekyll-paginate plugin in your Gemfile and in your _config.yml under plugins. For Jekyll 2, this is standard.
Enable pagination
To enable pagination for posts on your blog, add a line to the _config.yml file that specifies how many items should be displayed per page:
paginate: 5
The number should be the maximum number of Posts you’d like to be displayed per-page in the generated site.
You may also specify the destination of the pagination pages:
paginate_path: "/blog/page:num/"
This will read in blog/index.html, send it each pagination page in Liquid as paginator and write the output to blog/page:num/, where :num is the pagination page number, starting with 2.
Render the paginated Posts
The next thing you need to do is to actually display your posts in a list using the paginator variable that will now be available to you. You’ll probably want to do this in one of the main pages of your site. Here’s one example of a simple way of rendering paginated Posts in a HTML file:
---
layout: default
title: My Blog
---

<!-- This loops through the paginated posts -->
{% for post in paginator.posts %}
  <h1><a href="{{ post.url }}">{{ post.title }}</a></h1>
  <p class="author">
    <span class="date">{{ post.date }}</span>
  </p>
  <div class="content">
    {{ post.content }}
  </div>
{% endfor %}

<!-- Pagination links -->
<div class="pagination">
  {% if paginator.previous_page %}
    <a href="{{ paginator.previous_page_path }}" class="previous">
      Previous
    </a>
  {% else %}
    <span class="previous">Previous</span>
  {% endif %}
  <span class="page_number ">
    Page: {{ paginator.page }} of {{ paginator.total_pages }}
  </span>
  {% if paginator.next_page %}
    <a href="{{ paginator.next_page_path }}" class="next">Next</a>
  {% else %}
    <span class="next ">Next</span>
  {% endif %}
</div>
The following HTML snippet should handle page one, and render a list of each page with links to all but the current page.
{% if paginator.total_pages > 1 %}
<div class="pagination">
{% if paginator.previous_page %}
<a href="{{ paginator.previous_page_path | relative_url }}">« Prev</a>
{% else %}
<span>« Prev</span>
{% endif %}
{% for page in (1..paginator.total_pages) %}
{% if page == paginator.page %}
<em>{{ page }}</em>
{% elsif page == 1 %}
<a href="{{ '/' | relative_url }}">{{ page }}</a>
{% else %}
<a href="{{ site.paginate_path | relative_url | replace: ':num', page }}">{{ page }}</a>
{% endif %}
{% endfor %}
{% if paginator.next_page %}
<a href="{{ paginator.next_page_path | relative_url }}">Next »</a>
{% else %}
<span>Next »</span>
{% endif %}
</div>
{% endif %}
Conclusion
Jekyll is a really cool tool for small sites and blogs. Just try it, you will love it!
Further Reading
About The Author
I am Pankaj Baagwan, a System Design Architect. A Computer Scientist by heart, process enthusiast, and open source author/contributor/writer. Advocates Karma. Love working with cutting edge, fascinating, open source technologies.
To consult Pankaj Bagwan on System Design, Cyber Security and Application Development, SEO and SMO, please reach out at me[at]bagwanpankaj[dot]com
For promotion/advertisement of your services and products on this blog, please reach out at me[at]bagwanpankaj[dot]com
Stay tuned <3. Signing off for RAAM